The following fields are required and must be completed:
- Product Name
- Item Code
- Merchant Item Code
- Group Code
- Image Code
- Product Status
- Pool Status

In the previous steps, you prepared your product data model and pool. In this guide, you will learn how to add products to Lidia PIM, either individually or in bulk using Excel, and how to publish them.
The product creation process works according to the data model you prepared. Product information is created based on the fields defined in the data schema connected to the relevant pool.
 Before Adding Products
Before adding products to the system, make sure the following structures have been configured.
1. A product data schema must be created.
To learn how to create a data schema → How to Create a Data Schema?
2. Product properties and options must be defined.
To learn how to define properties and options → How to Define Properties and Options?
3. The defined properties and options must be added to the data schema.
To learn how to configure data schema fields → How to Add Properties and Options to a Data Schema?
4. A product category must be created and connected to the data schema.
To learn more → How to Create a Category?
5. A pool linked to the relevant category must be created.
To learn how to create and manage pools → Understand and Manage Pools
How Do Asynchronous Operations Work?
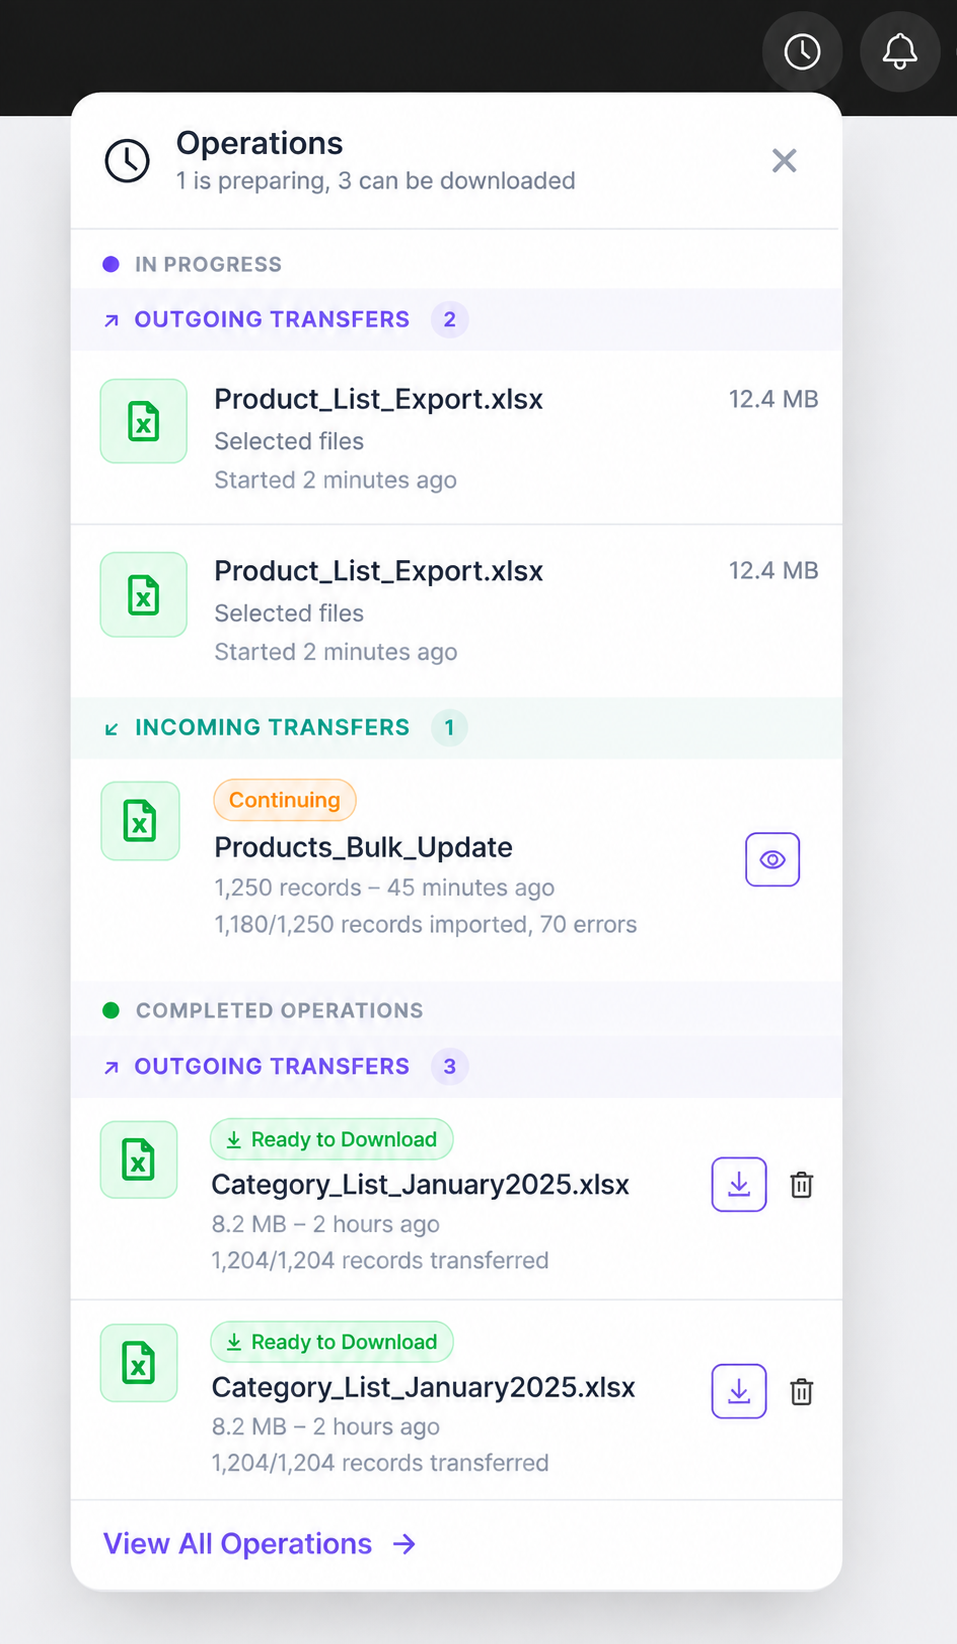
Some operations in Lidia PIM continue asynchronously in the background. You can continue working in other areas of PIM while the operation is processed.
Track these processes from the Operations section in the upper-right corner.
Product imports are processed asynchronously. Their status can be tracked as In Progress or Completed.
When processing is completed, open the related operation and continue manually to validation.
Product exports are also prepared asynchronously. When the export is completed, you receive a notification.
Open the completed operation and click Download.
 How to Download the Excel Template?
To add multiple products, first download the Excel template generated for the pool.
Find the pool and click Manage Products.

Click Add Products.

Select Add Multiple Products.

Click Download Draft Template.
Each pool has its own Excel template. The template is generated according to the data schema and fields connected to that pool.
How to Fill in the Excel File?
The Excel file contains the fields required to add product information.
Provides information about the fields included in the template.
The main sheet where product information is entered.
This sheet shows field names, descriptions, and whether each field is required or optional.
Required fields are highlighted in red. If these fields are left empty, an error occurs during product import.

Some fields are standard across pools and are included by the system.
The following fields are required and must be completed:
The following fields are optional:
The following fields are read-only:
How to Add a Single Product?
Find the pool where you want to add the product and click Manage Products.
Click Add Products at the top of the pool detail page.
Select Add Single Product.
Enter the following required information:
Click Continue.
If you leave the creation process at this stage, the product is saved as a draft and can be accessed from the Drafts tab.

Single product creation consists of four main stages:

Complete the main information required to create the product.
All Basic Information fields are required. Data Schema is automatically populated and read-only.
If Image Code matches an existing media code, the related image automatically appears in Media.

Properties added to the pool's data schema are listed here. Complete all fields defined as required.
Reference fields and product management tags are displayed in this step.
Both Pool Item Status and Product Status must be Active before publishing.

If Image Code matches an existing media code, the image is displayed automatically.
Otherwise, click Add New Image to upload product images.
 How to Add Multiple Products?
To add multiple products to a pool at once, use an Excel file.
Find the pool where you want to upload products and click Manage Products.
Click Add Products and select Add Multiple Products.
Click Click to upload file and select the completed Excel file.
Only .xlsx files can be uploaded.
Click Continue.
The import now continues asynchronously in the background.
You can continue working in other areas of PIM while the file is processed.
Track the operation from Operations.
You receive a notification when processing is completed.
Open the completed operation from Operations.
The system directs you to the validation page.

Review the validation results before completing the import.
If errors are found, correct them. If validation is successful, click Continue.

The products have been added to the pool and are ready for publishing.
How to Publish Products in a Pool?
Go to the All tab and select the products you want to publish.
Click Publish Products.

Select the publishing scope and click Continue.
The system checks whether All Products Can Be Published.

Click Continue.
Products are grouped under:
First-time uploads appear under New Products and New Variants. Updates to existing records appear under Updated Products and Updated Variants.
Modified fields are highlighted in yellow.
Click Approve and Publish.
In the opened window, click Publish.
 Possible Errors During Excel Upload
During validation, the system checks whether the Excel file contains missing or invalid product information.

Lidia Code is generated automatically by the system.
Solution: Leave the Lidia Code field empty.
Required fields cannot be left empty.
Solution: Complete all required fields.
Products cannot be published without the required image information.
Solution: Upload the required images.
Only .xlsx files are supported.
Solution: Upload the file in .xlsx format.
An empty product file cannot be imported.
Solution: Complete the product rows.
The product cannot be published while inactive.
Solution: Set Product Status to Active.
Possible Scenarios During Product Publishing
During publishing, additional validations are performed. Publishing may be fully successful, partially successful, or blocked.
If some products meet the publishing requirements while others do not, the system displays a Partial Publishing warning.
Publishable and non-publishable product counts are displayed separately.
Possible reasons include:

If none of the selected products meet the publishing requirements, publishing is blocked.
Recommended actions:
 Post-Import Checks
After import, verify that the products have been added to the pool correctly and published successfully.
Published products appear under both the All and Published tabs.
Published products are also listed under Catalog > Products and Catalog > Variants.