
Lidia Commerce Documentation
In this guide, you will learn how to define users and roles in Lidia PIM, how to add new users, and how role assignments and access permissions are managed.
In Lidia PIM, user permissions are managed through roles. The system includes predefined roles, and new roles can be created according to your needs.
For each role, accessible areas and View/Edit permissions can be configured. When creating a new user, assigning a role determines the user's access permissions within the system.
 What Is a Role and What Is It Used For?
A role is a permission definition that determines which screens a user can access in Lidia PIM and which actions the user can perform.
In short, the role structure answers the following questions:
A user who manages product data may require different access permissions from a user who only reviews content. For this reason, users are assigned roles that match their responsibilities.
Lidia PIM includes several predefined system roles. These roles determine which areas users can access and what level of permission they have in those areas.
Permissions are primarily defined at two levels: View and Edit.
The modules that can be viewed and the areas that can be edited can be defined separately for each role. When necessary, users with sufficient authority can update these permissions and change the access scope.
What Are Role-Based Permissions?
Permissions are structured hierarchically under System. View and Edit permissions can be defined separately for each level. The following areas can be configured on a role basis.
How to Create a Role?
Click Add New Role.
In the opened modal:
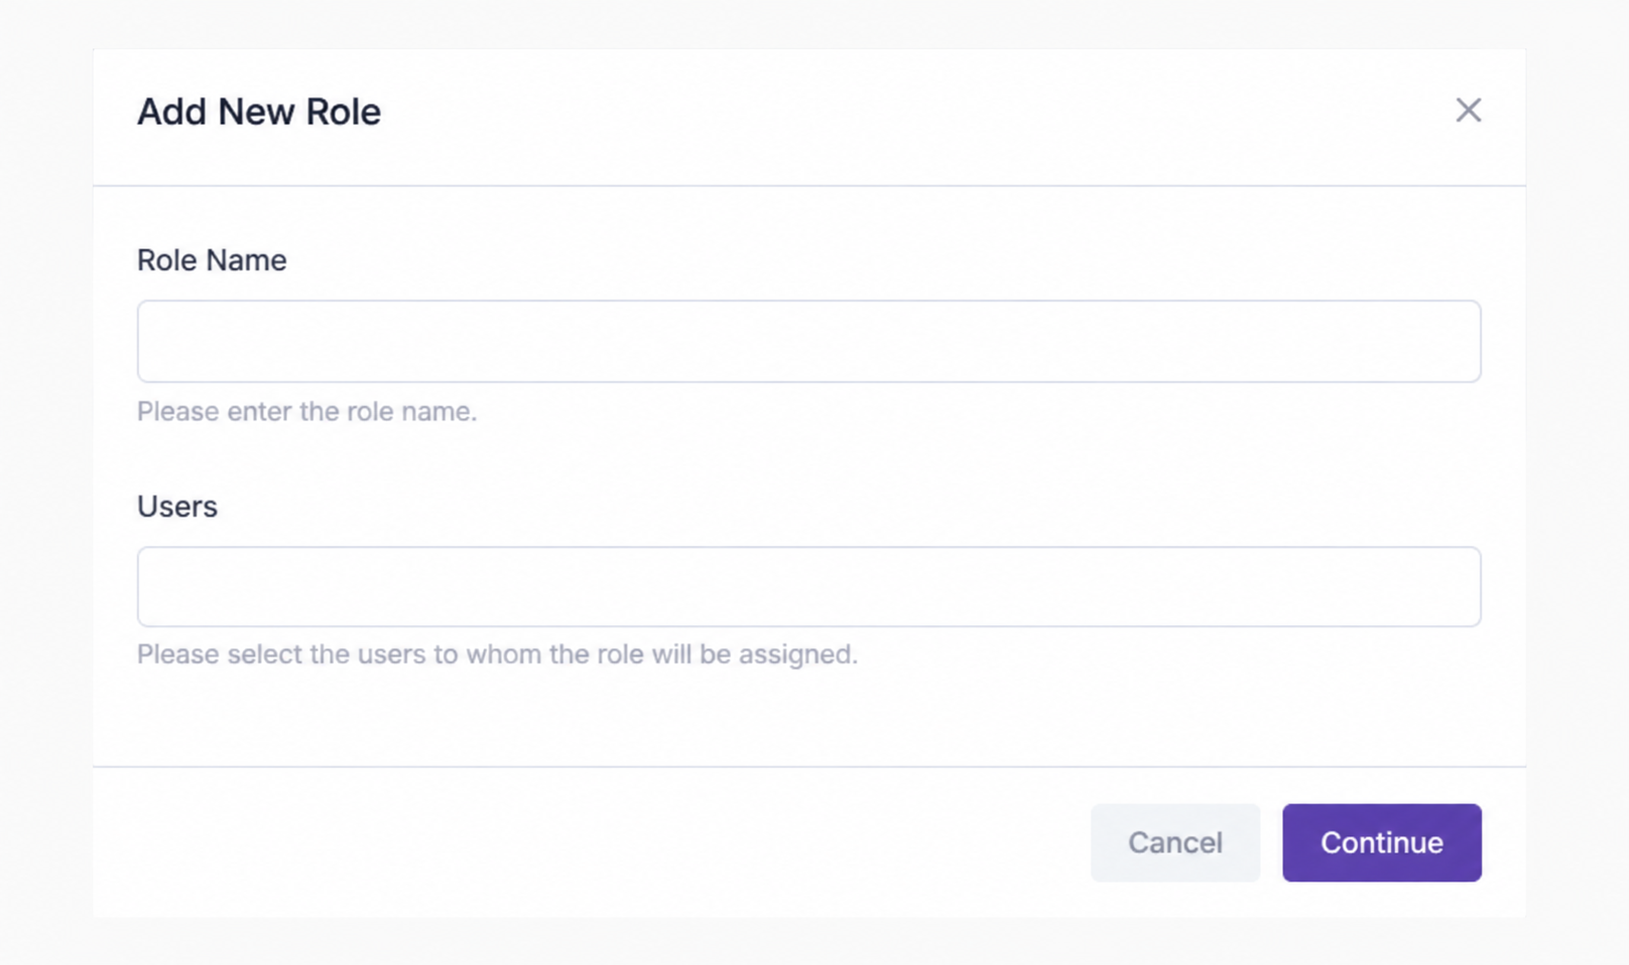
After creation, the role can be managed from its detail page.
Role creation and permission configuration depend on the permissions of the current user's role. For example, a user with the Guest role cannot create roles or configure permissions.
Users assigned to the role can be viewed from the Users tab.
Use Assign Role to Users to add new users to the role.
The Permissions tab determines which areas of the system the role can access.
View and Edit permissions can be assigned or removed separately for each module. This allows role-based access to be managed centrally and in a controlled way.
How to Create a New User?
Click Add New User.
In the opened modal:
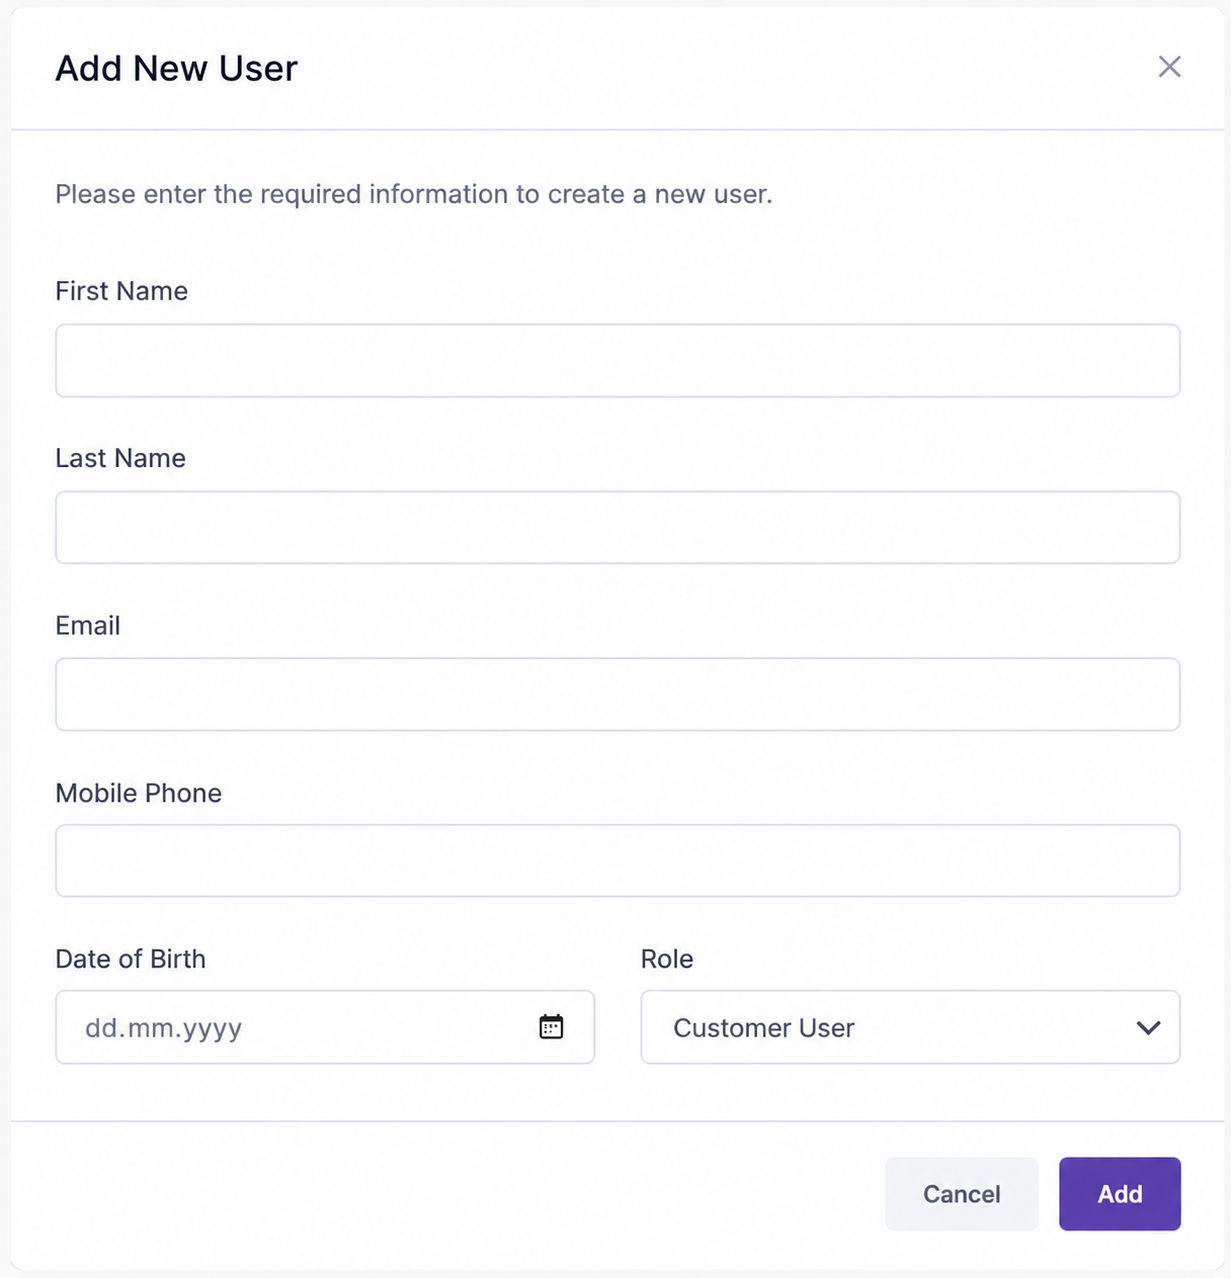
From the Basic Information tab, you can view and review information such as first name, last name, mobile phone, date of birth, and identification information.
When required, use Send Password Reset Request to start the password renewal process for the user.
Additional roles can be assigned to the user from the Permissions tab.
A user can have multiple roles, and their system access is determined through these assigned roles.
How to Assign a Role to a User?
A role can be assigned to a user from multiple points in the system:
A user can be assigned one or more roles through any of these methods. The user's access permissions in the system are determined by the combined permissions of all assigned roles.